Configure stamps and annotations
Learn how to configure the Conversion Service to add a barcode, image, and text stamp or annotation to pages of the output documents using the Conversion Service Configurator.
For more information about stamps and annotations, the differences between stamps, and the workflow specific settings, review Stamping in workflows.
Procedure
Configure stamps and annotations for a profile by following these steps:
- In the Conversion Service Configurator, go to Workflows & Profiles. You can either:
- Select a profile to edit by clicking the pen icon to edit the profile configuration.
- Click Add to create a new profile from a selected workflow.
- In the Processing Steps section, enable the Stamp and Annotation toggle.
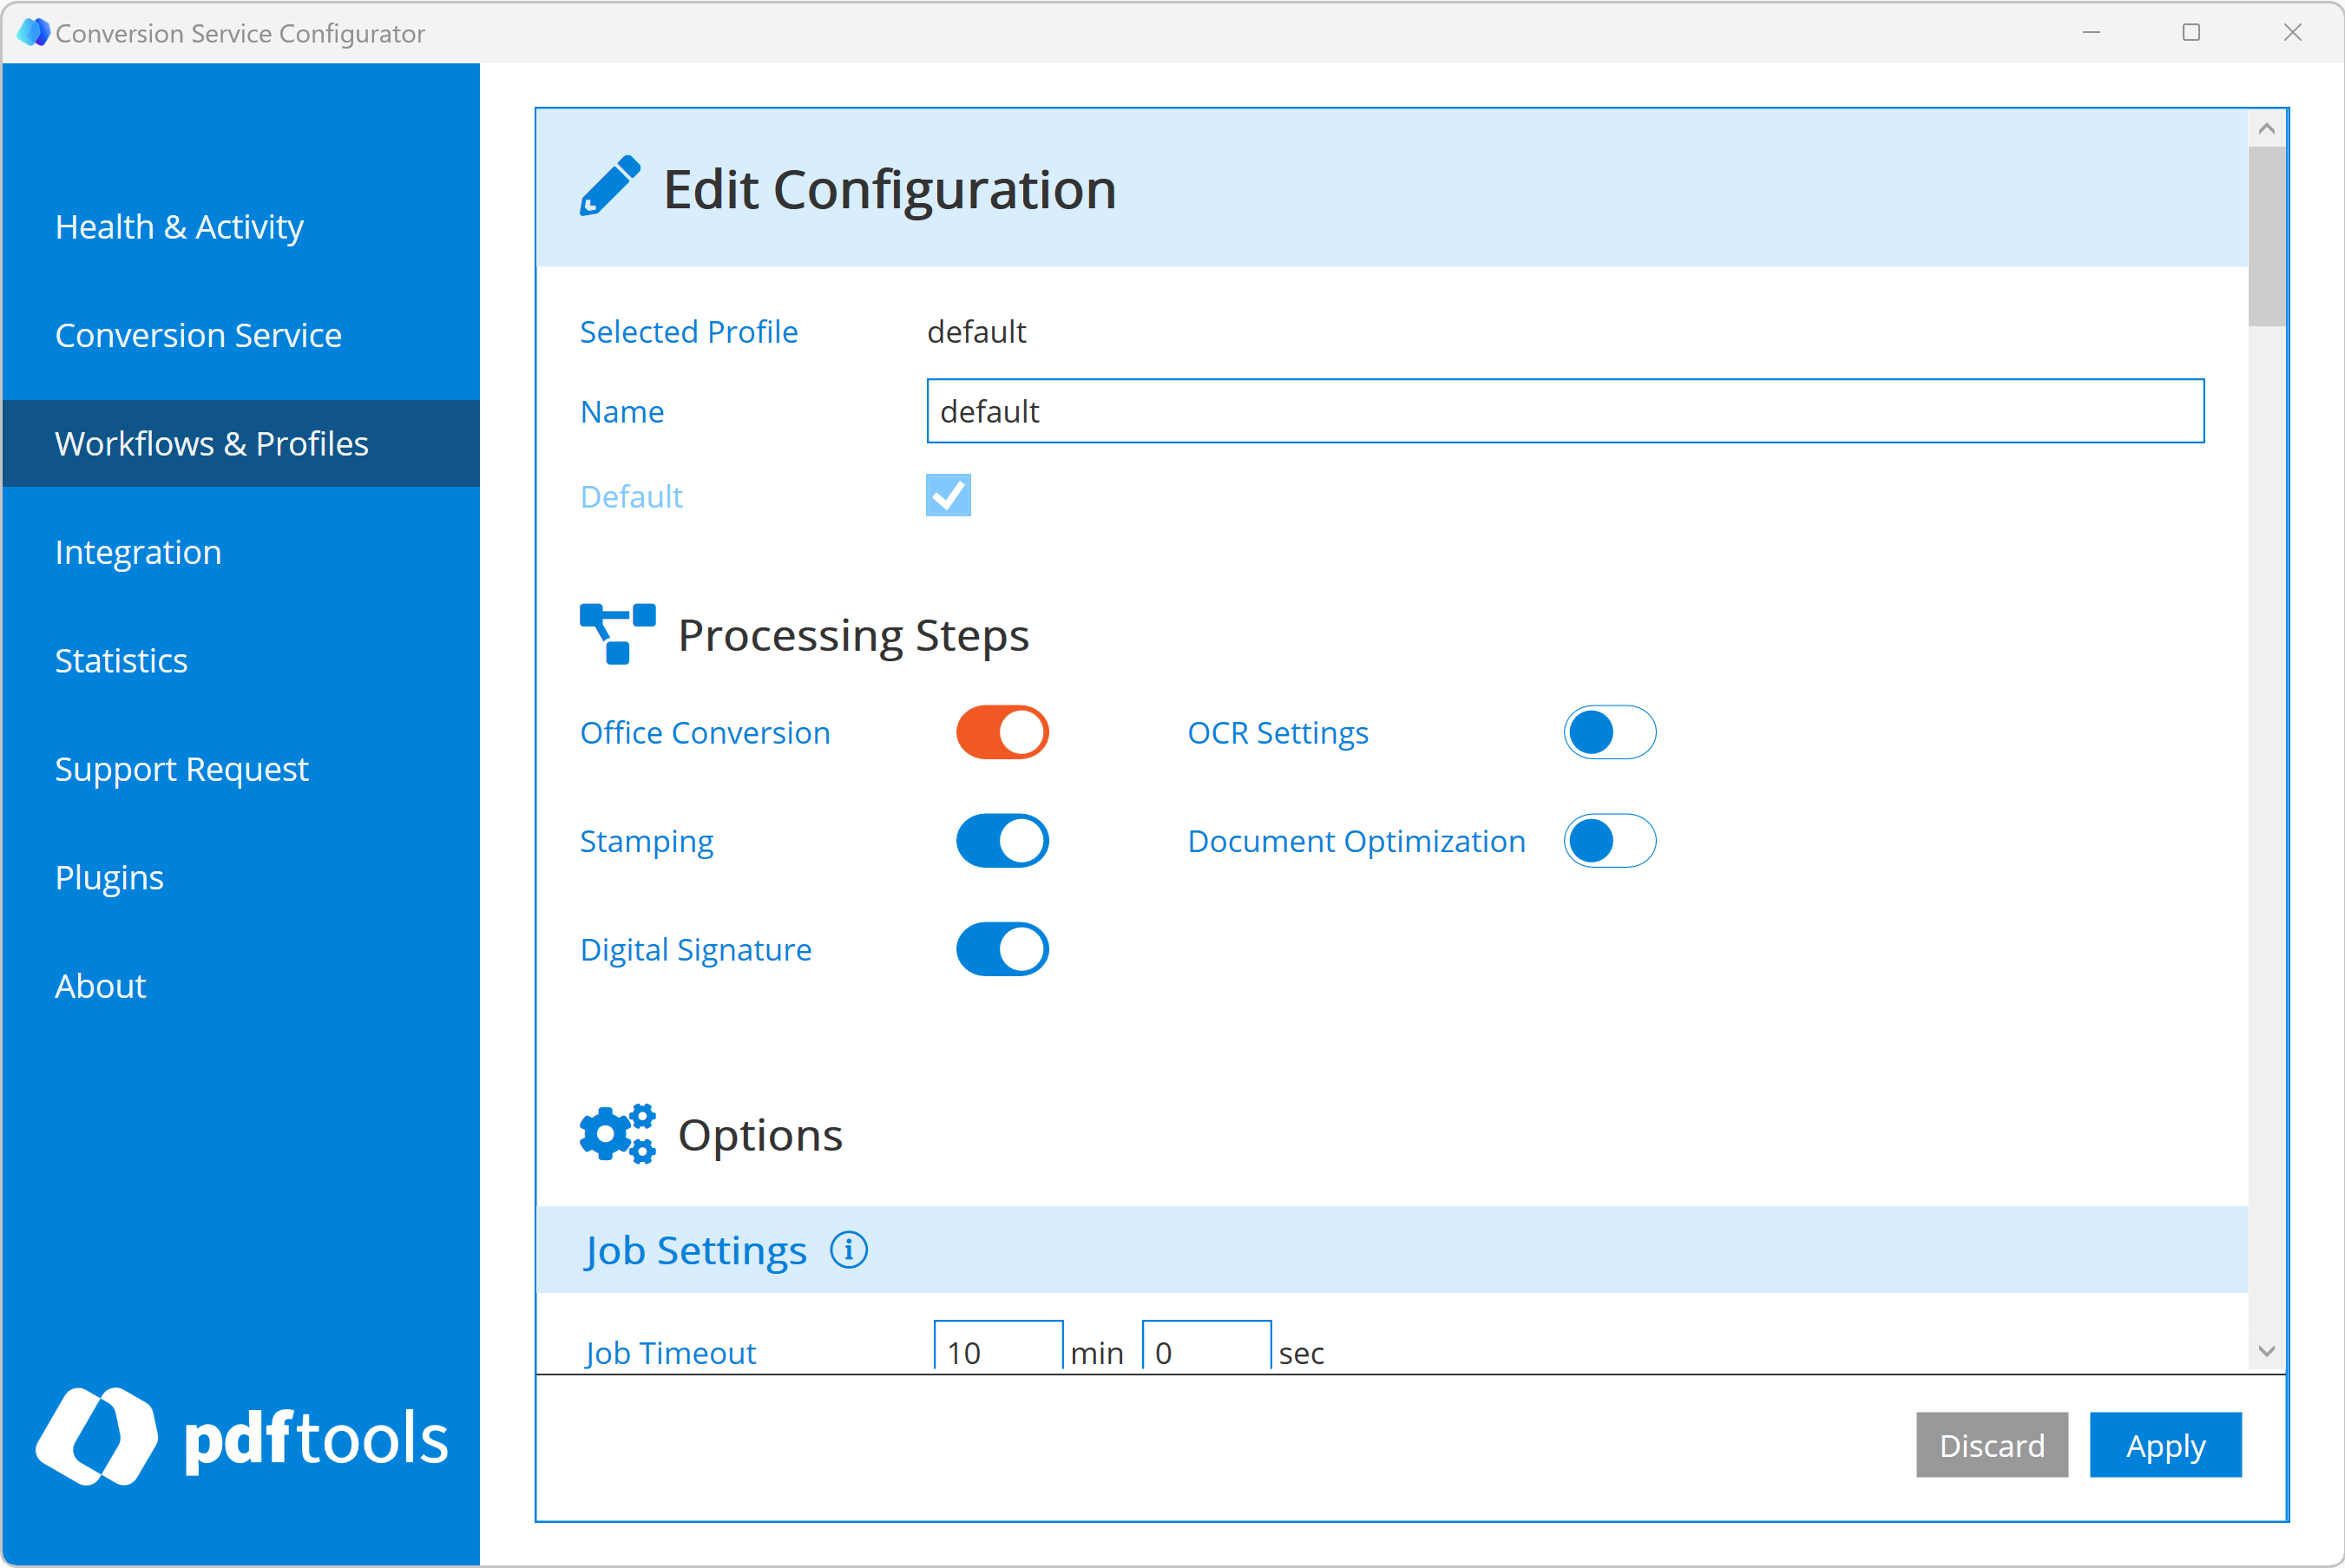
- When you enable the Stamping option for a profile, an additional configuration section appears that allows you to add different stamps for that specific profile.
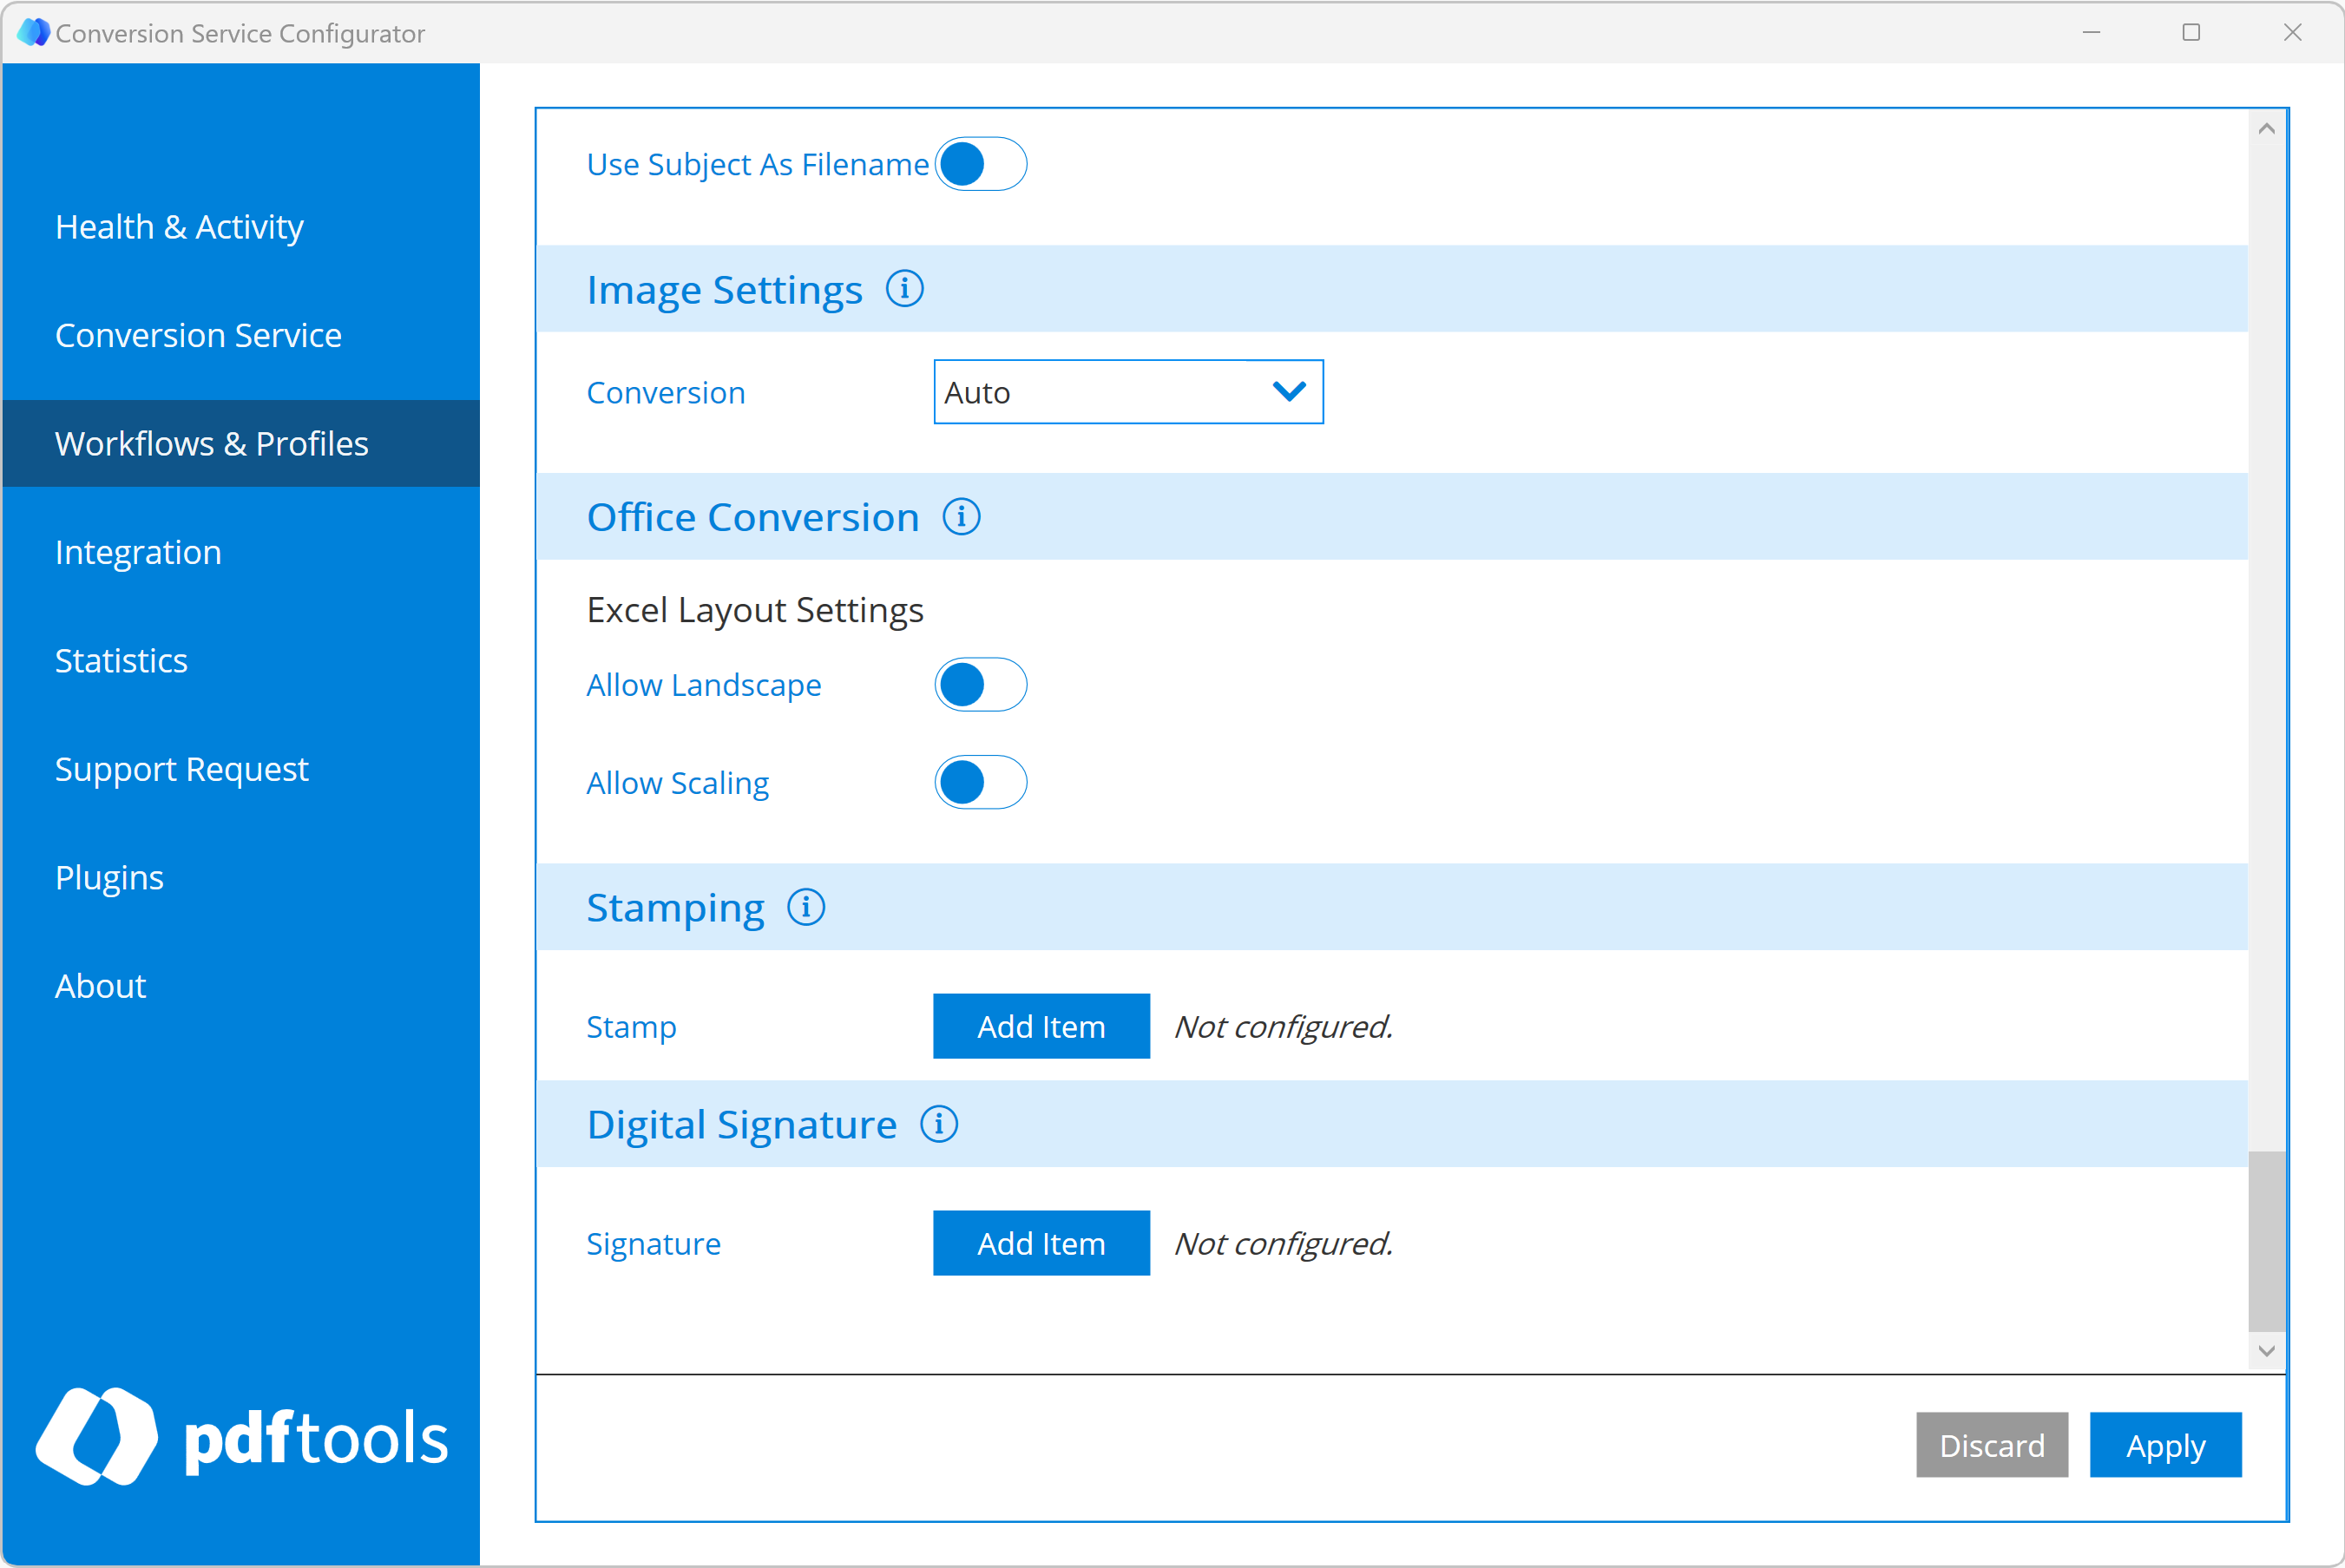
To add a new stamp or annotation follow these steps:
-
Click Add Item next to the Stamp or Annotation headers.
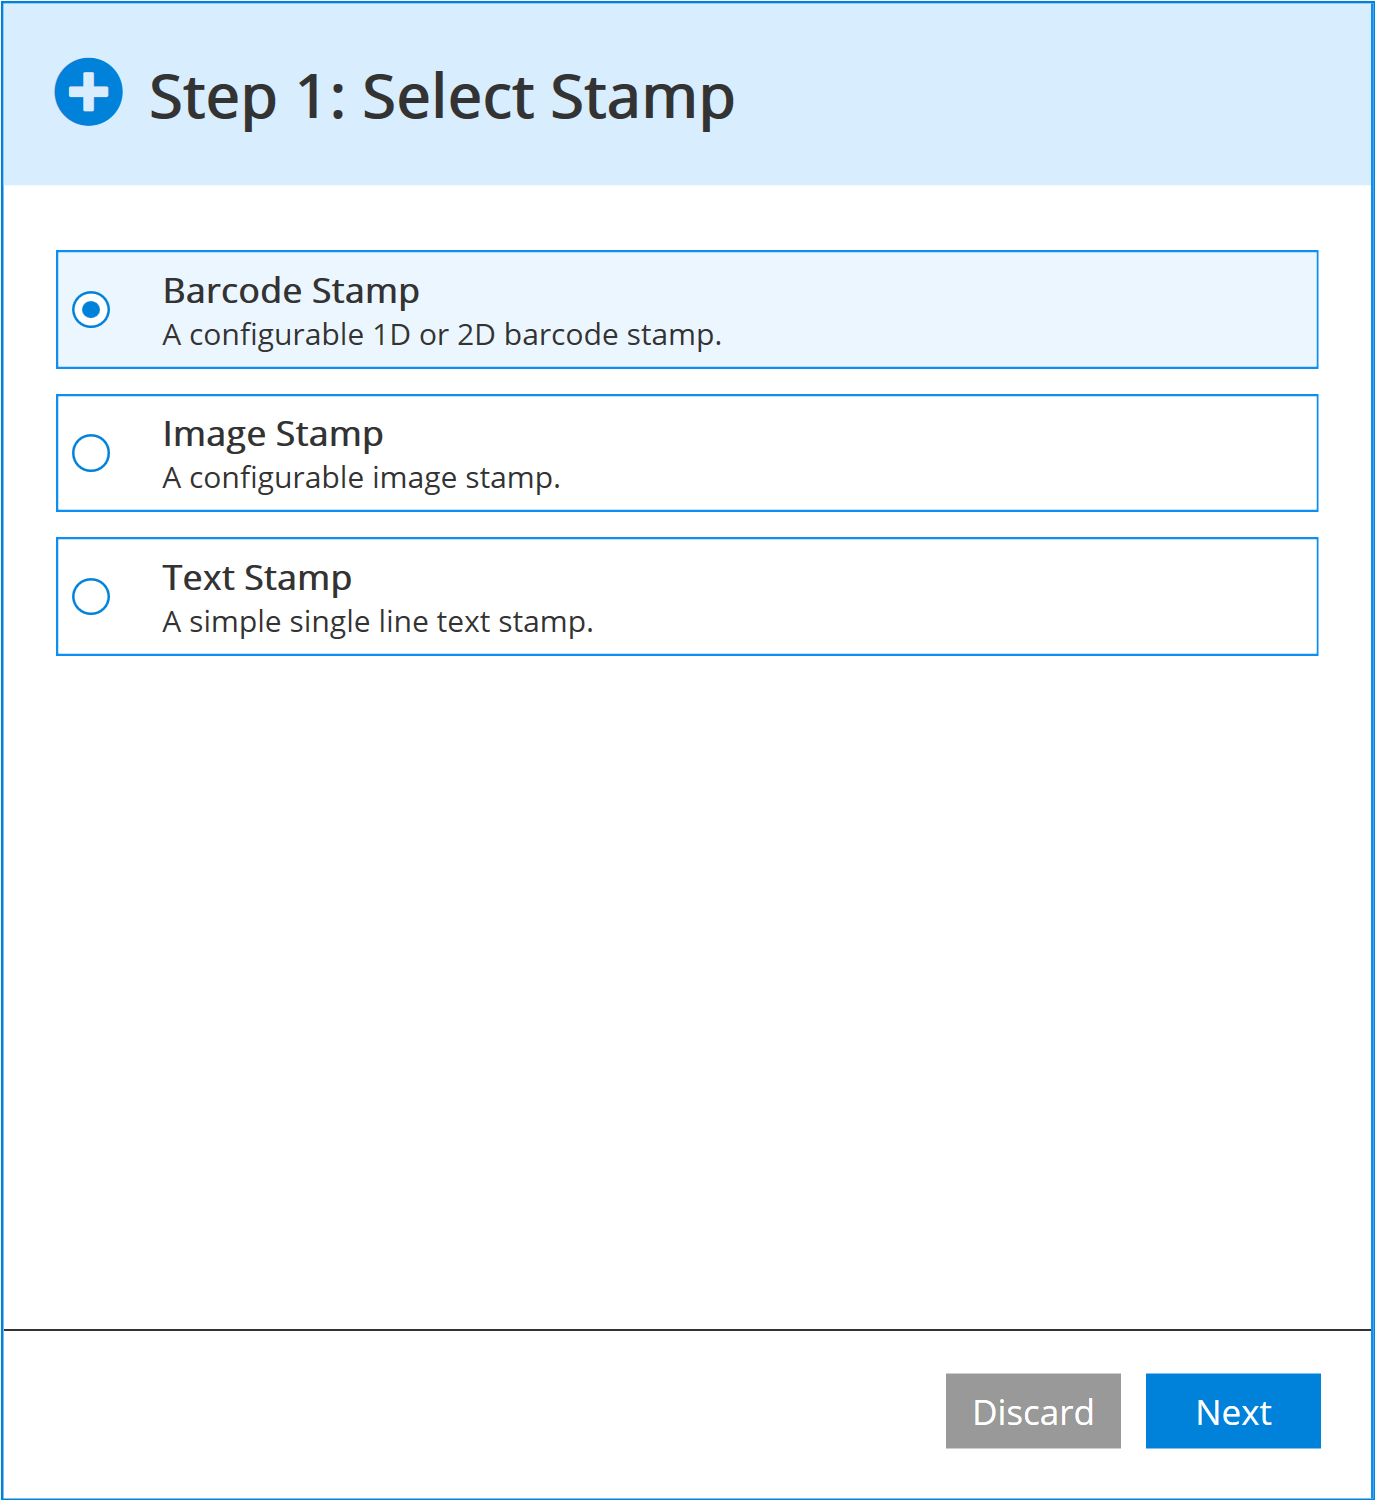
-
Choose the type of stamp or annotation you want to add to your profile. There are three types:
- Text: Text stamps can be used to apply a single line of arbitrary text. For example, to create header or footer lines or to apply a transparent watermark.
- Image: Image stamps can be used to apply an image, for example to apply a company logo.
- Barcode: Barcode stamps can be used to apply a 1D or 2D barcode, for example to apply a stamp with the document ID.
-
Configure the options for the stamp type. Review section Stamps and annotations configuration options
-
Determine the layout for the stamp or annotation. The position is determined by setting one or two adjacent values. For example, if only set the bottom value, the stamp is bottom-aligned to the configured distance to the bottom and horizontally centered. If the "top" and "right" values are set, the stamp is also be top-aligned and right-aligned to the configured border values. You can choose centimeters, millimeters or inches as the unit of measurement for expressing the position.
- Left: Distance to the left border of the page.
- Top: Distance to the top border of the page.
- Right: Distance to the right border of the page.
- Bottom: Distance to the bottom border of the page.
- Angle (text stamp only): The angle of the stamp in degrees. Rotation is counter-clockwise.
For example:
- 0°: Horizontal text
- 90°: Sideways bottom to top
- -90°: Sideways top to bottom
- 45°: Diagonal bottom-left to top-right
- -45°: Diagonal top-left to bottom-right
- 180°: Upside down
- Width (image and barcode stamps only): Width of the stamp.
- Height (image and barcode stamps only): Height of the stamp.
For example, if only the "width" value is set for a 2D barcode, the height is calculated accordingly and the stamp is vertically and horizontally centered.
noteFor 2D barcodes, at least the width or height of the stamp must be specified. For 1D barcodes, both values must be provided.
-
Choose the pages on which you want to display the stamp:
- All: the stamp is applied to all pages of all documents.
- First: the stamp is applied to the first page of the main output document. An error is triggered if the resulting document is a collection.
- Last: the stamp is applied to the last page of the main output document. An error is triggered if the output document is a collection.
Stamps and annotations configuration options
The configuration options depend on the stamp type. Review the following sections for more information:
-
Stamps:
-
Annotations:
Image stamp
- Image: Path of the image to be used as a stamp. The path must be an absolute path. Click the folder icon to open the file explorer.
Text stamp
-
Text: Text to be displayed as a stamp. You can use placeholders to generate the text to be displayed when running the workflow.
-
Font: Type family and typeface. The list shows all fonts installed in the system.
-
Font Size: Size of the typeface displayed in the text stamp (points).
-
Text Color: Color of the text displayed in the stamp. Click the paintbrush icon to open the color picker tool. You can also choose a color by entering the hexadecimal RGB value, Hue-Sat-Lum value or web color name. For example,
DarkGreenor#FF0000(equivalent to "Red"). -
Text Opacity: Transparency of the text. The value can range from 0.0 to 1.0, where 1.0 is opaque and 0 is completely transparent. If you want the text stamp to be used as a watermark, use 0.5.
noteTransparency is not allowed in PDF/A-1.
- Allow Scaling: This option prevents the Conversion Service from adding a stamp outside of the page boundaries, ensuring that it is displayed on a page. By default, this option is set as false. If you allow scaling, the Conversion Service decreases the font size of your desired stamp to fit the page.
noteThis option only works with horizontal stamps, where the angle is not specified or set to zero.
Barcode stamp
- Type: The type of barcode to be displayed. You can choose from:
- 1D barcode types: EAN-13 and Code 128
- 2D barcode types: QR code and data matrix
The barcode type may affect the width and height of the stamp defined in the Layout section.
- Value: The value of the barcode. If the barcode type is EAN-13, the value must be 12 digits or 13 digits with valid checksum. You can use placeholders to generate the barcode to be displayed when running the workflow.
Image annotation
- Image: Path of the image to be used as an annotation. The path must be an absolute path. Click the folder icon to open the file explorer.
Text annotation
-
Text: Text to be displayed as an annotation. You can use placeholders to generate the text to be displayed when running the workflow.
-
Font: Type family and typeface. The list shows all fonts installed in the system.
-
Font Size: Size of the typeface displayed in the text annotation (points).
-
Text Color: Color of the text displayed in the annotation. Click the paintbrush icon to open the color picker tool. You can also choose a color by entering the hexadecimal RGB value, Hue-Sat-Lum value or web color name. For example,
DarkGreenor#FF0000(equivalent to "Red"). -
Text Opacity: Transparency of the text. The value can range from 0.0 to 1.0, where 1.0 is opaque and 0 is completely transparent. If you want the text annotation to be used as a watermark, use 0.5.
noteTransparency is not allowed in PDF/A-1.
Barcode annotation
- Type: The type of barcode to be displayed. You can choose from:
- 1D barcode types: EAN-13 and Code 128
- 2D barcode types: QR code and data matrix
The barcode type may affect the width and height of the annotation defined in the Layout section.
- Value: The value of the barcode. If the barcode type is EAN-13, the value must be 12 digits or 13 digits with valid checksum. You can use placeholders to generate the barcode to be displayed when running the workflow.
Placeholders
Customize the text of a text stamp, text annotation, value of a barcode stamp, and barcode annotation using placeholder variables.
Placeholder variables whose name start with custom: are replaced with the value of the corresponding document option CUSTOM.OPTION_NAME. This placeholder is used to generate barcodes.
Example:
- The stamp text in the profile is configured as:
Reviewed by [custom:REVIEWER]. - The document option
CUSTOM.REVIEWERis set toJohn Doe. - The resulting stamp text is:
Reviewed by John Doe.
The supported placeholders are documented separately for each workflow. For more information about placeholders, find specific workflow documentation such as Archive PDF/A-2 workflow, Conversion, or Dossier, or other workflows, and review available placeholders under the Job and document options header.